Operating a Portable Laser Cleaning Machine is an intuitive and efficient process, thanks to its user-friendly design and advanced features. This machine leverages ultra-short pulse, ultra-high frequency mini fiber lasers to deliver exceptional cleaning performance across various surfaces. Below is a comprehensive guide on how to operate this versatile tool with ease.
Key Features Overview
- Ultra-Short Pulse Laser Technology: Ensures precise and non-destructive cleaning.
- Simple Operation: Multiple laser cleaning patterns for different applications.
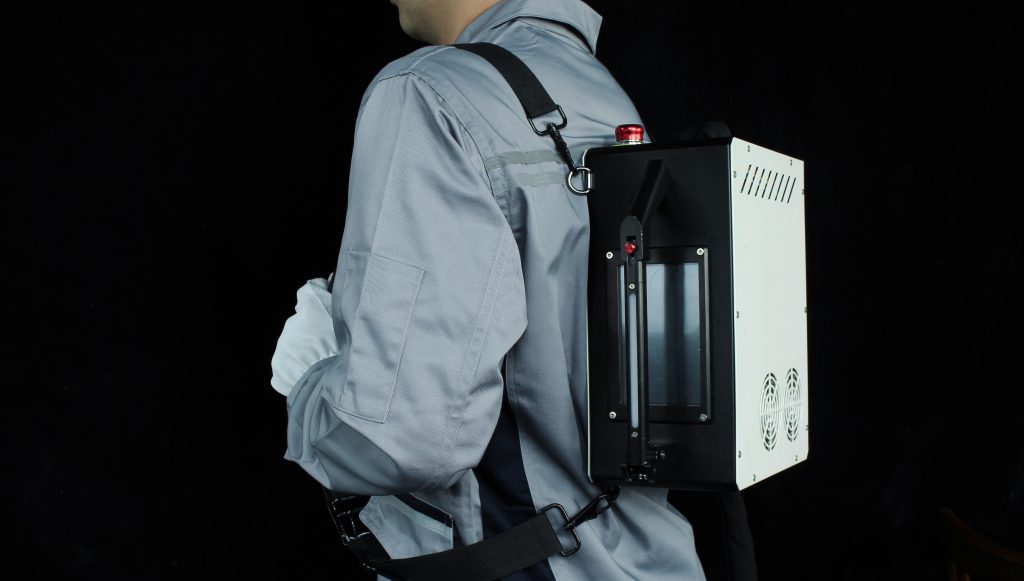
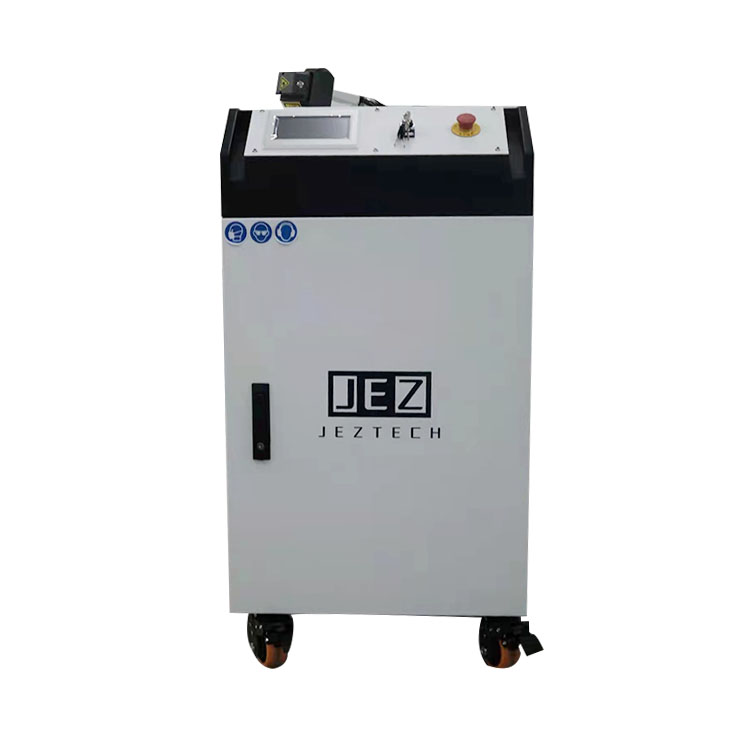
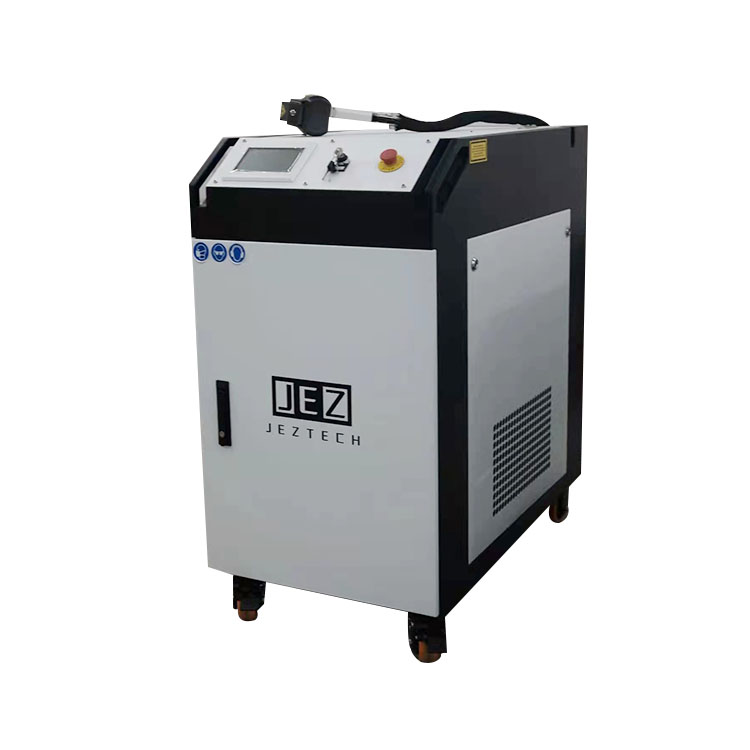
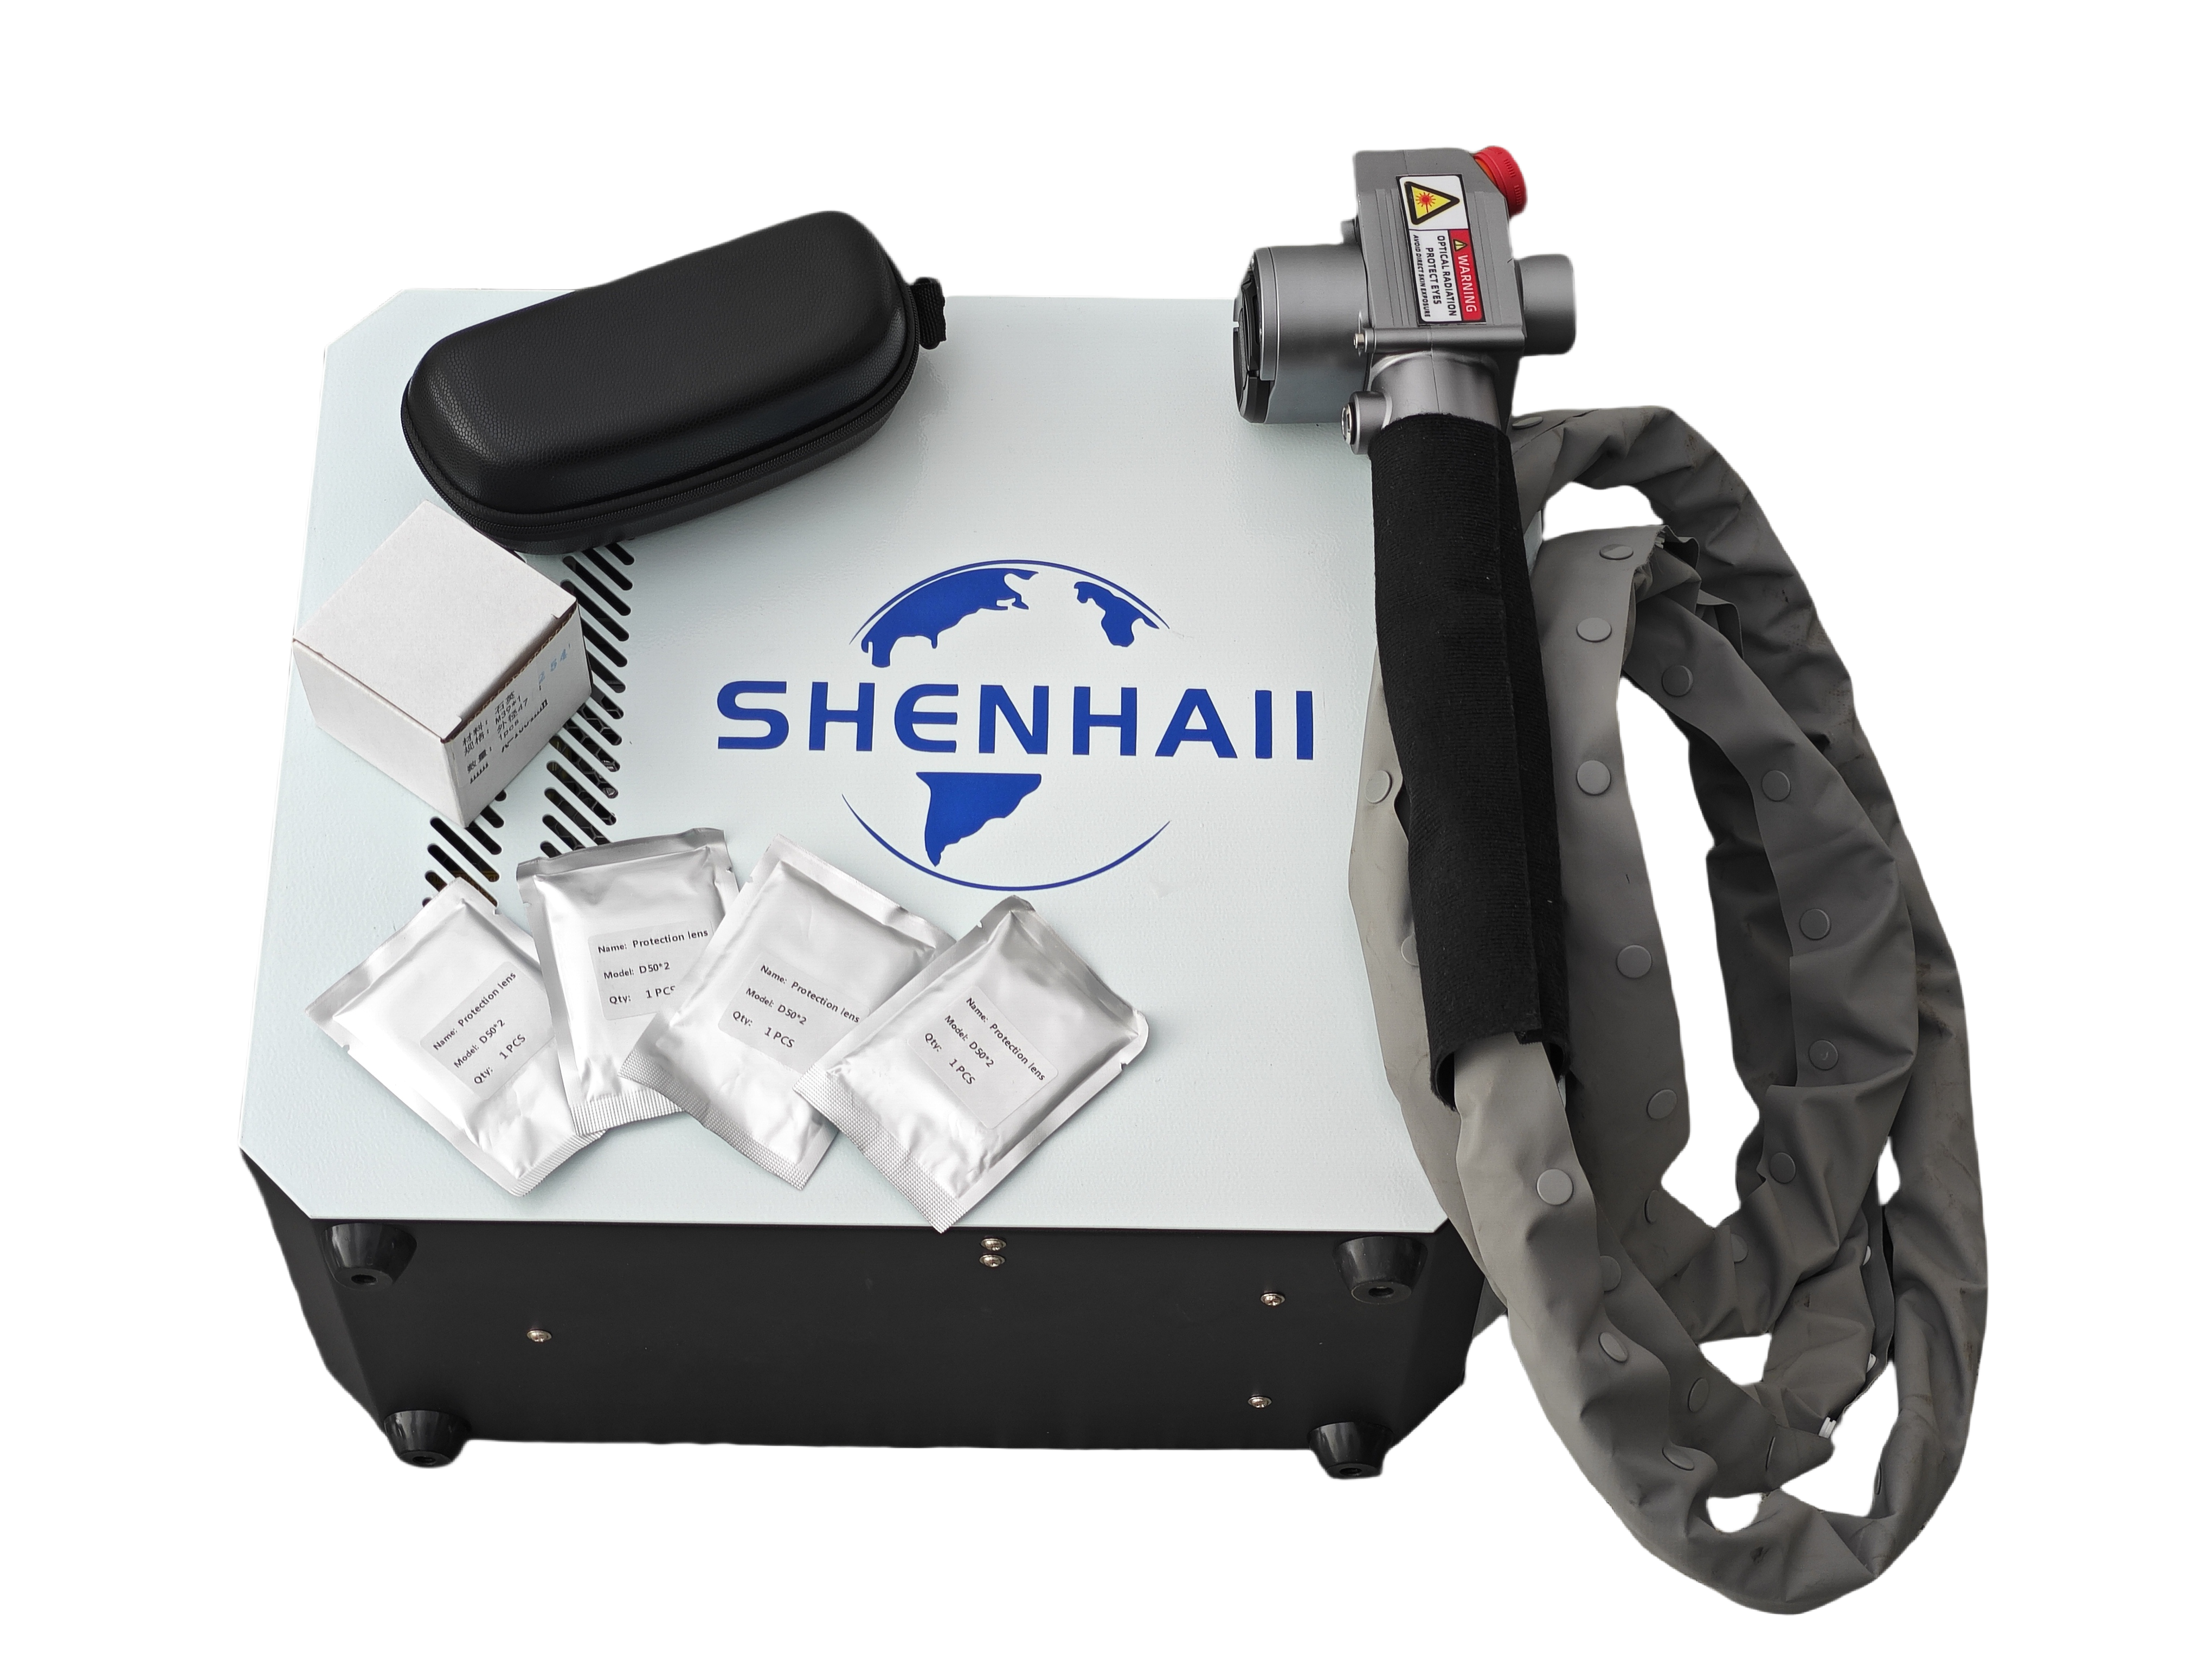
- Portable Design: Lightweight cabinet and handheld cleaning head for easy maneuverability.
- Air Cooling Mode: Lower energy consumption and cost-effectiveness.
- High-Speed Cleaning Head: Features an E-Stop button for immediate emergency response.
- Global Compatibility: Supports 1 phase 100-240V / 50-60 Hz and power bank use.
- Integrated Shielding Gas: Extends lens life and enhances efficiency.
- F-Theta Focus Lens: Provides uniform energy distribution and superior cleaning quality.
- Easier Clean Mode: Labor-saving and efficient cleaning.
Application Scenarios
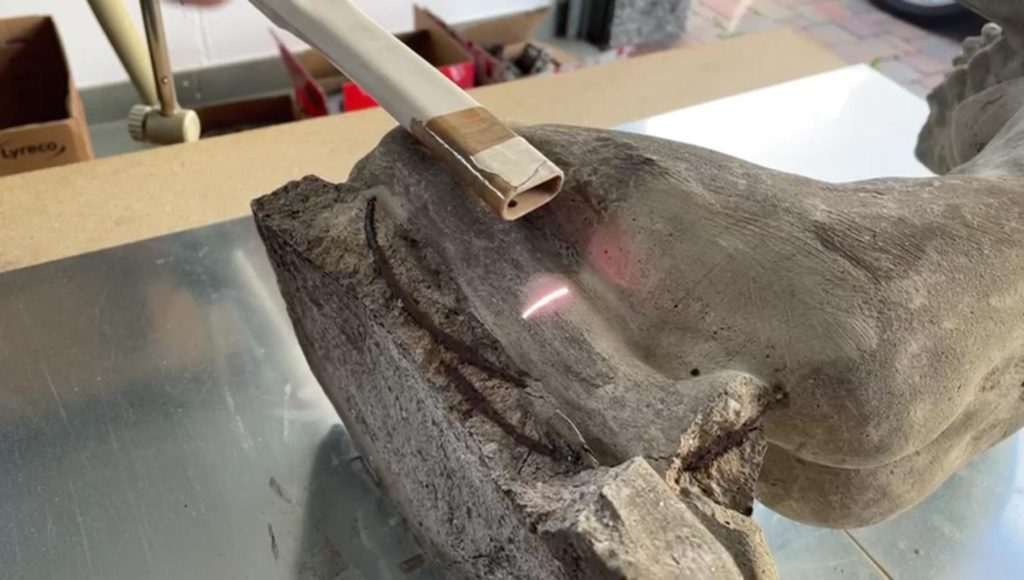
- Stone Artwork: Ideal for maintenance of stone artworks, cultural relics, and sculptures without causing damage.
- Urban Graffiti: Effective cleaning without the need for consumables or auxiliary equipment.
- Wooden Doors and Windows: Refurbishment and soot cleaning after fires, ensuring dry cleaning to prevent mold.
- Oxidizing Layer Cleaning: Removes rust, paint, weld beads, and millscale.
- Automotive Parts Cleaning: Efficient removal of residual oil stains and grease.
Step-by-Step Operation Guide
1. Preparation
- Ensure Safety: Wear appropriate protective gear, including safety glasses, gloves, and ear protection.
- Power Supply: Connect the machine to a compatible power source (1 phase 100-240V / 50-60 Hz) or use a power bank.
- Gas Setup: If using the integrated shielding gas function, connect the gas supply as per the instructions provided.
2. Machine Setup
- Position the Machine: Place the portable cabinet in a stable location near the work area.
- Attach the Handheld Head: Connect the handheld cleaning head to the machine via the provided cable.
- Select Cleaning Pattern: Use the control panel to choose the appropriate cleaning pattern for your task.
3. Start the Machine
- Power On: Turn on the machine using the power switch.
- Preheat (if necessary): Allow the machine to preheat as per the manufacturer’s recommendations.
- Activate Laser: Press the start button to initiate the laser cleaning process.
4. Cleaning Process
- Focus Adjustment: Use the F-theta focus lens to ensure uniform energy distribution on the surface.
- Move the Head: Guide the handheld cleaning head over the surface to be cleaned in a steady, controlled manner.
- Monitor Progress: Keep a close eye on the cleaning process to ensure desired results are achieved.
- Emergency Stop: If any safety concerns arise, immediately press the E-Stop button to halt the laser.
5. Post-Cleaning
- Turn Off Laser: Once cleaning is complete, press the stop button to deactivate the laser.
- Disconnect Power: Safely disconnect the machine from the power source.
- Cool Down: Allow the machine to cool down before packing it away.
- Store Safely: Ensure the machine and accessories are stored in a dry, secure location.
Maintenance Tips
- Regular Inspections: Check the lens, cables, and connections for any signs of wear or damage.
- Clean the Lens: Use a soft cloth and appropriate cleaning solution to maintain lens clarity.
- Storage: Store the machine in its original packaging when not in use to protect it from dust and moisture.
Conclusion
Operating a Portable Laser Cleaning Machine is straightforward and highly effective, thanks to its advanced features and intuitive design. By following the steps outlined above, you can achieve professional-grade cleaning results on a wide range of surfaces, from stone artworks to automotive parts. With proper maintenance and care, this versatile machine will serve you well for many years.